In the merciless world of "No Rest For The Wicked," knowing how to save your progress and exit the game properly is as crucial as mastering your combat skills. Failure to do so can result in lost progress, setting you back in your quest to eradicate the ghastly Pestilence. This detailed guide breaks down the steps to ensure your journey through the tainted realms is preserved properly and your exits are as strategic as your entries.
Understanding the Importance of Saving
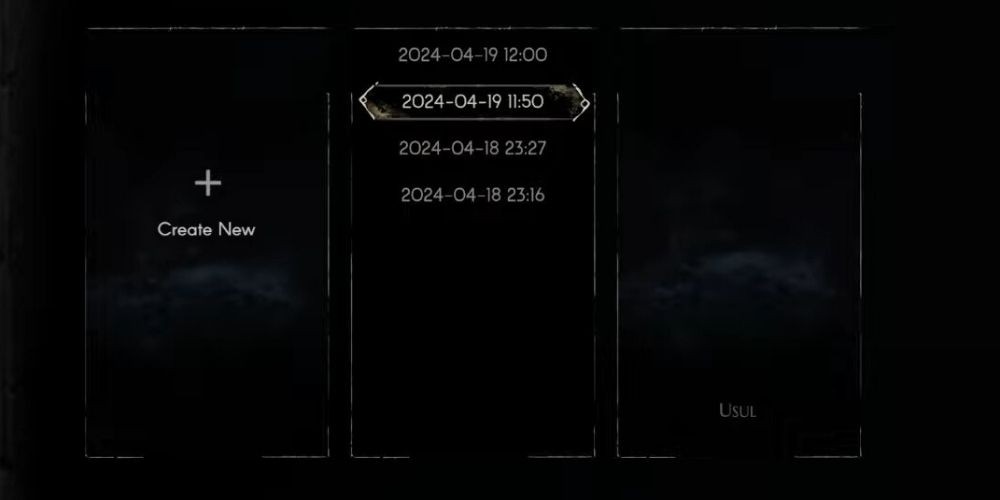
Before diving into the 'how-to,' it's fundamental to grasp why saving is a cornerstone practice in "No Rest For The Wicked." Unlike some modern games with generous auto-save features, this title demands a more thoughtful approach. Missing the opportunity to save can mean repeating difficult sections, a situation no player wishes to find themselves in. Let's ensure your achievements and upgrades don't vanish into the digital aether.
Finding Cerim Whispers
The primary means of saving in "No Rest For The Wicked" revolves around Cerim Whispers. These ethereal entities are not just a beacon of hope in the oppressive darkness but also your lifeline, allowing you to secure your progress. Here's how to effectively locate and use them:
Step 1: Spotting the Cerim Whispers
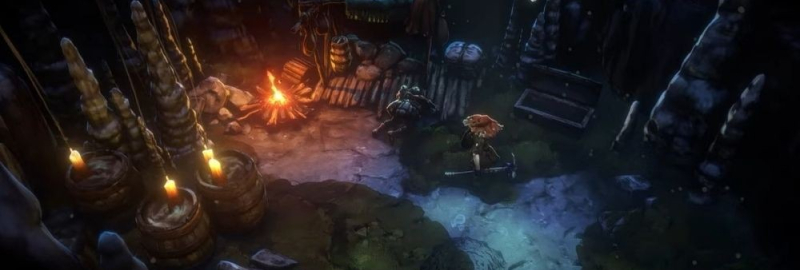
Keep an eye out for the distinctive blue glow of Cerim Whispers. These entities stand out against the backdrop of the game's darker environments, making them relatively easy to spot. Their welcoming tendrils of light grow more pronounced as you draw near, guiding your path to salvation.
Step 2: Interacting With Cerim Whispers
Once you've located a Cerim Whisper, approach it and interact. This interaction not only saves your game but also deepens your connection with the game's lore, adding layers to your experience. Post-prologue, these Whispers serve a dual purpose, acting as nodes for fast travel and enhancing their value.
Mastery of Exiting
Equally as important as saving, knowing how to exit "No Rest For The Wicked properly" ensures that your departure from the game is as smooth and secure as your journey within it. The process varies slightly across different platforms, but adhering to the correct steps prevents loss of progress and potential file corruption.
Exiting on PC
PC players may initially find the process of exiting a tad confusing due to the unconventional use of the Esc button. Here’s a clear breakdown:
Step 1: Saving Your Progress
Before even thinking about exiting, make sure you've recently saved your game at a Cerim Whisper. This ensures all your recent adventures and acquisitions are safely recorded.
Step 2: Initiating the Exit
Rather than the Esc key, which brings up your inventory, use the "Tab" key to bring up the game's main menu. Console players should press "Options" on PlayStation or "Pause" on Xbox to achieve the same result.
Step 3: Finding the Exit Option
In the main menu, navigate through the options until you locate the open door symbol, usually positioned on the far right. This icon represents the exit function within the game's menu.
Step 4: Confirming Your Exit
After selecting the open door icon, you'll be prompted to confirm your intention to exit the game. Confirming this will close the game properly, ensuring your progress is kept intact.
Wrapping Up Your Session
Adhering to these steps for saving and exiting will solidify your efforts in "No Rest For The Wicked," making your return to the game seamless and worry-free. Remember, the discipline you apply to saving and exiting is just as important as your prowess in combat within this unforgiving world. Let these practices become second nature, and you'll find yourself transcending the challenges that lie ahead with confidence and assurance.
Secure your progress, warrior. The world of "No Rest For The Wicked" awaits your victorious return, with every step you take preserved and every departure gracefully executed.