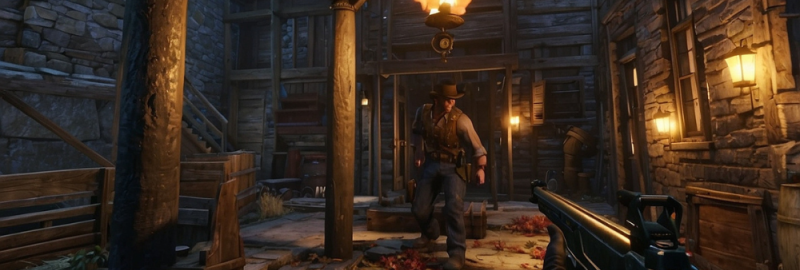
Call of Duty: Black Ops 6 has once again captivated fans with the return of round-based Zombies, bringing thrilling experiences across two new maps. Among these, the Liberty Falls map stands out for its detailed storyline and intricate Easter egg hunt. Whether you're venturing out alone or teaming up with friends, our comprehensive guide will take you through each necessary step to uncover the secrets hidden in Liberty Falls. Prepare to delve deep into this thrilling adventure as we navigate through the challenges ahead!
Embarking on the Quest
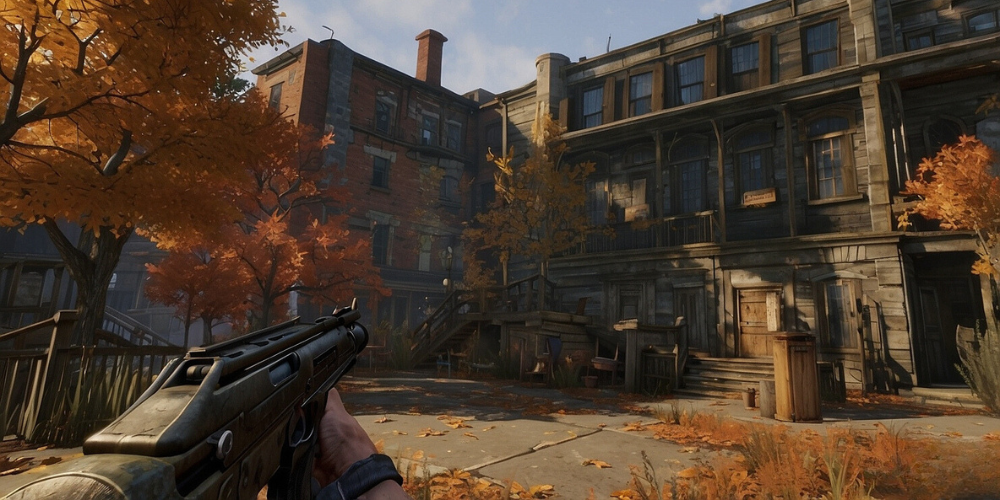
Initiating the Liberty Falls storyline quest should be your first mission, where both solo players and squads will find their unique challenges. Begin by opening up the map fully, locating the Pack-a-Punch machine, and gathering materials to create the Jetgun Wonder Weapon. These initial actions set the foundation for your adventure, allowing you to interact with key machines that advance the plot.
Interacting with Clues in the Church
Once you gain access to the church, make sure to examine the machine situated on the right side of the interior. Engaging with this machine triggers essential story dialogues, adding depth to the ongoing quest. Engaging with the machine again leads you towards the next significant step: creating the Jetgun Wonder Weapon.
Crafting the Jetgun Wonder Weapon
In Liberty Falls, the Jetgun is back with a revamped design and enhanced functionality compared to its predecessor from Black Ops 2's TranZit map. Not only is this newer variant less prone to malfunction, but it offers a more enjoyable gameplay experience. Before crafting it, you need to collect several components, which are detailed in our extensive guide. If you prefer, you can also attempt to acquire it through the Mystery Box, but be warned: the odds are not in your favor.
Gathering the LTG Device Parts
The Jetgun becomes indispensable as you work to collect the LTG parts. Its vacuuming feature allows you to reach components that would otherwise be inaccessible. Begin this phase by heading to the church and engaging with the machine once again. Look upwards towards the balcony to spot a hat-like part floating in the air, which you can vacuum up with the Jetgun.
Finding the Comic Shop Component
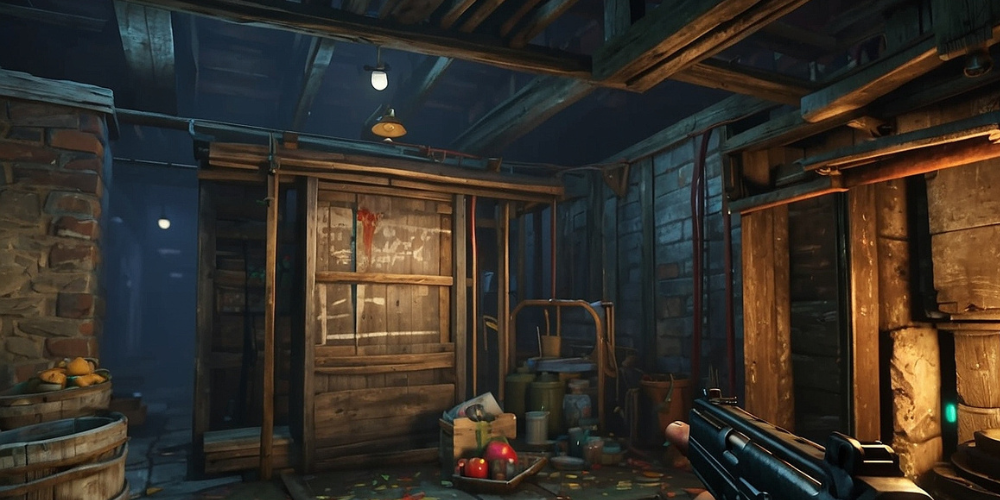
Your next stop is Ollie's Comic Shop, where you’ll need to scan the ceiling to find another LTG part. It's obscured in a hole above, ready to be retrieved with your Jetgun’s vacuum function.
Securing the Barbershop Piece
The third LTG device part is stashed in the barbershop situated near the Speed Cola station. To access this piece, make a daring jump from the nearby rooftop to the top of a truck parked outside. This clever maneuver will allow you to vacuum the fragment through the barbershop window.
Building the LTG Device
With all three components secured, make your way to the bank rooftop. Ascend via the zipline or the elevator to find a special crafting station specifically designed for assembling the LTG device.
Utilizing the LTG Device
Now that you've crafted the LTG, it's time to grab an Aether canister. Head back into the church and interact with the machine to collect it. Carrying this canister will slow your movements, so be cautious as you navigate.
Finding the Dark Aether Storms
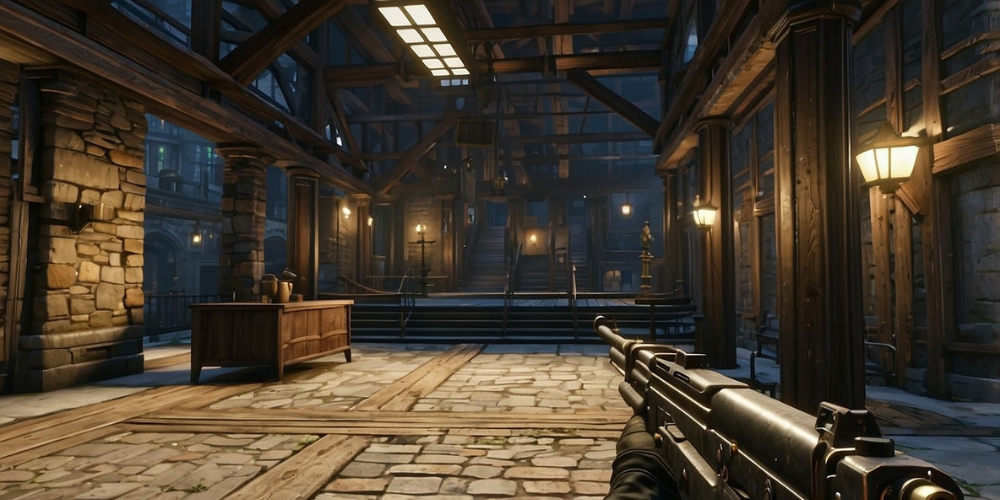
Take the canister to one of two Dark Aether storms on the map; your options include the Cemetery or directly next to the Pump and Pay gas station. For this guide, we’ll begin at the gas station. Place your canister near the trap positioned in its vicinity before activating the LTG device underneath the storm. This action triggers a wave of zombies you must fend off without damaging the device.
Catching the HVT Essence
After battling the zombies for a minute, the LTG device will indicate that a portal has spawned an HVT, which could either be a Mangler or an Abomination. Carefully wear down its health without defeating it immediately. When the enemy sparks purple, leading them back to the canister and activating the trap while they are trapped will capture their essence.
Returning to the Church
With the HVT essence collected, hurry back to the church with the filled canister. You have 90 seconds to accomplish this task, so swift movement is crucial. Once you reach the machine, deposit the canister, which will trigger the dispensing of a Strauss Counter, a pivotal item for syncing the next steps.
Employing the Strauss Counter
The Strauss Counter has a unique function that allows you to interact with three devices resembling old-school film projectors scattered throughout the map. Locate each projector and activate it while standing next to it, matching the color displayed on your Strauss Counter. The colors could range from green, yellow, or red, and you must synchronize them correctly.
Projector Locations
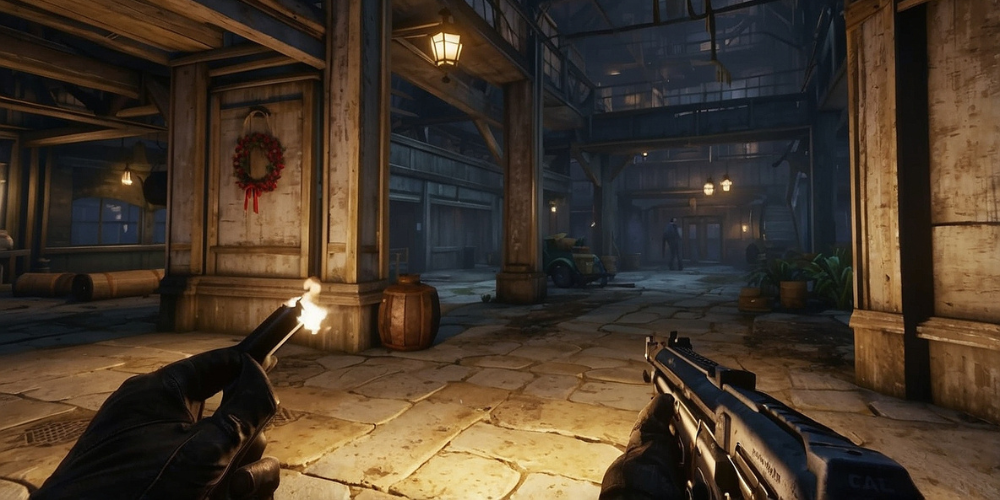
The projectors can be found at specific locations: one near the hillside across from the church leading to the bowling alley, another behind a white house next to the Groundskeeper's Tool Shed, and finally on the lower section of the bank roof. Syncing all devices will establish a purple beam pointing toward the gas station, revealing your next destination.
Collecting the Second Aether Canister
A new Aether canister will emerge at the gas station after the projectors are synced. It’s essential to retrieve this canister before transitioning back to the cemetery with the LTG device. As before, you will replicate the previous process to summon another HVT, either the Mangler or the Abomination you didn’t encounter during the initial phase.
Preparing for the Boss Fight
Successful completion of the steps prior to round 25 allows for adequate preparation for the upcoming boss encounter. Equip yourself with at least tier 2 armor and base Pack-a-Punch weapons, alongside critical perks such as Juggernog and Quick Revive. Utilizing equipment like Decoy grenades and Monkey Bombs will help distract your foes during combat, while higher ammunition capacity shotguns and LGMs will serve you well.
Confronting the Boss
The climactic battle unfolds within the church’s confines. The encounter features three intense waves of zombies, leading up to the appearances of an elite Mangler and an elite Abomination. Survive the challenges thrown at you and prepare for a dramatic finale.
Conclusion and Celebration
Upon completing the boss fight, a cutscene will ensue, marking the end of the Liberty Falls main Easter egg quest. Marvel at your triumph and the journey you’ve undertaken, and consider the additional exploration and secrets that still await you in Call of Duty: Black Ops 6! The exhilarating world of Zombies continues, and the hints and items you’ve collected open paths to even more thrilling adventures.

Leave a comment
Your comment is awaiting moderation. We save your draft here
0 Comments